
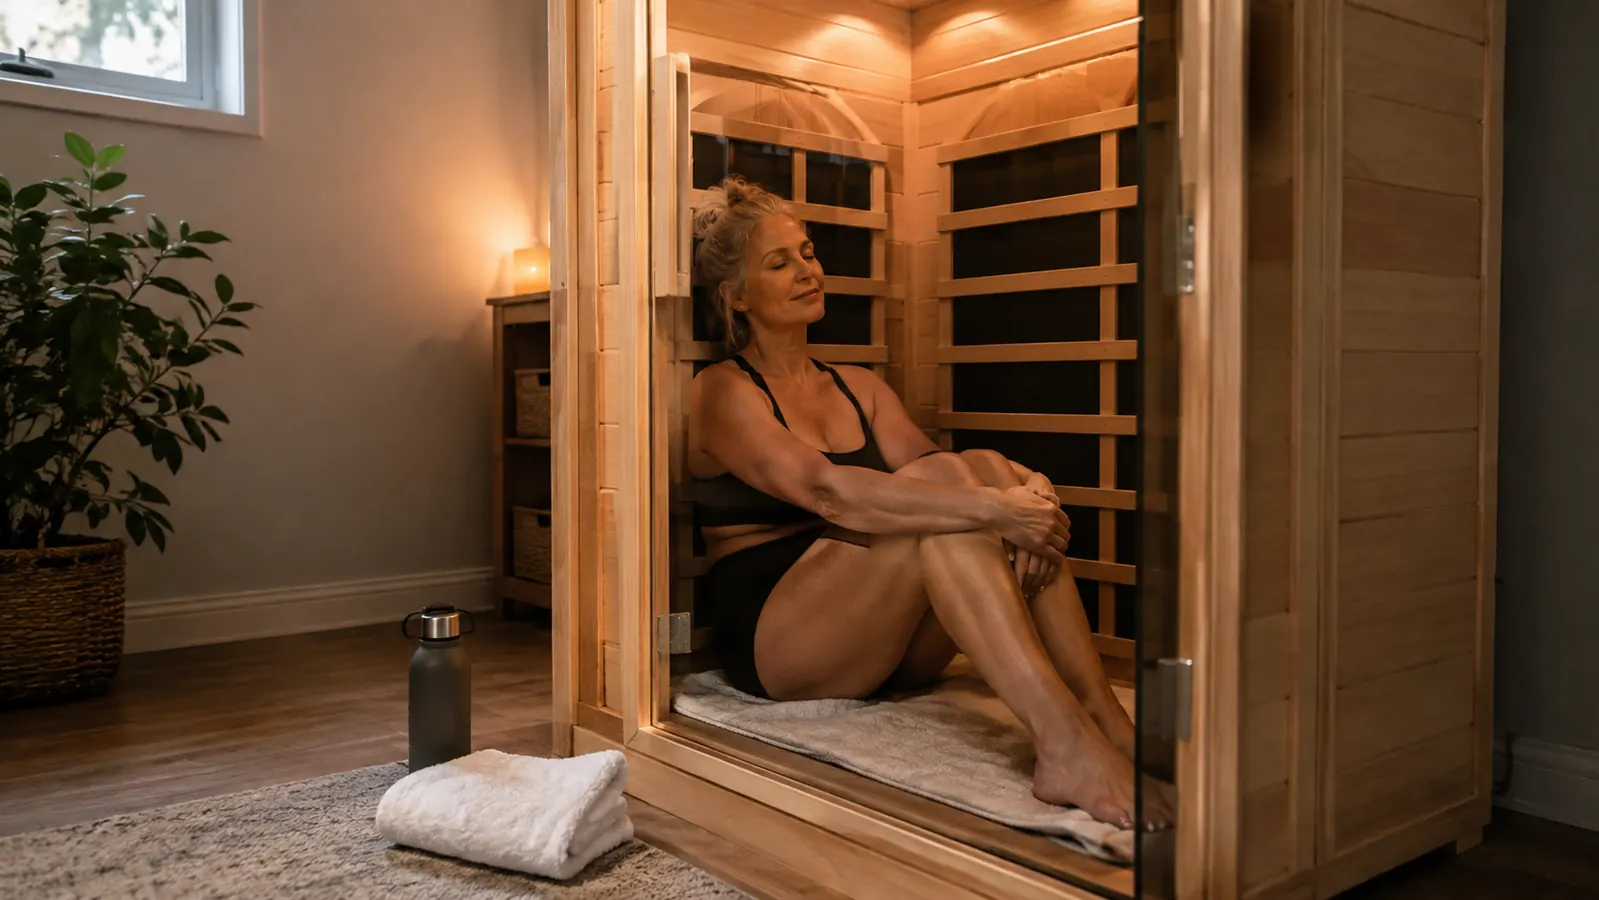
When I decided to try a one-person infrared sauna, I made the mistake of shopping for the sauna before I thought about where it would go. The OUTEXER was the one I kept coming back to, a small wooden room you assemble in a corner, and it looked perfect in the product photos. But photos do not show you the outlet situation, the floor, or how much room the door needs to swing. Those details decide whether a sauna becomes part of your routine or a piece of furniture you walk past.
I spent 25 years as a physical therapy assistant, and most of that time I was teaching people to set up their home exercise spaces for success. The same rule applies here. A sauna that is awkward to reach, hard to plug in, or squeezed into a corner you have to climb over to enter is a sauna you will not use. This is the process I used to find the right spot in our basement in Duluth, and the order matters more than you would think.
The sauna is the easy part. The spot is where most people go wrong.
The OUTEXER one-person sauna needs a level floor, a circuit that is not already loaded, and room for the door to swing. Measure your space first, then shop. Check today's price on Amazon and see the footprint for yourself.
Amazon Check Today's Price on Amazon →Why the Spot Matters More Than the Sauna
Most of the reviews I read talked about heat-up time, temperature, and how the sauna felt during a session. All of that matters, but none of it matters if the sauna is in the wrong place. I have seen friends buy exercise equipment and abandon it because it lived in a room they never entered. The sauna is the same. If it is not convenient, it will not get used.
The good news is that a one-person infrared sauna is small. The OUTEXER takes up less floor space than a deep armchair, and it does not need a drain, a vent, or any special wiring beyond a normal outlet. That means the range of possible spots is wide. The bad news is that the range is wide, which means you can pick a bad spot and not realize it until the sauna is assembled and the door will not open properly.
Step 1: Measure the sauna, then measure the room
The first thing I did was write down the sauna's footprint, then add clearance on every side. You want about two feet of open space on the door side so you can step in and out without twisting, and at least six inches behind and beside the unit so air can move around the wood. The OUTEXER is made of Chilean pine, and like any wood, it does better when it can breathe. If you are working with a tight space, measure the sauna with the door open, because the door sticks out further than the base.
I marked the whole thing out on the basement floor with painter's tape before the sauna arrived. That tape saved us from moving furniture twice. It also showed me something important: the corner I had my eye on had plenty of room for the sauna, but the path to it ran past the furnace and the water heater, and the walk felt longer than I expected.
Do this in the room you think you want, and do it at the time of day you will actually use the sauna. Our first idea was the far end of the basement, which had plenty of space, but it was also the coldest corner in the house in January. The tape showed the spot would work. The walk told us it would not.
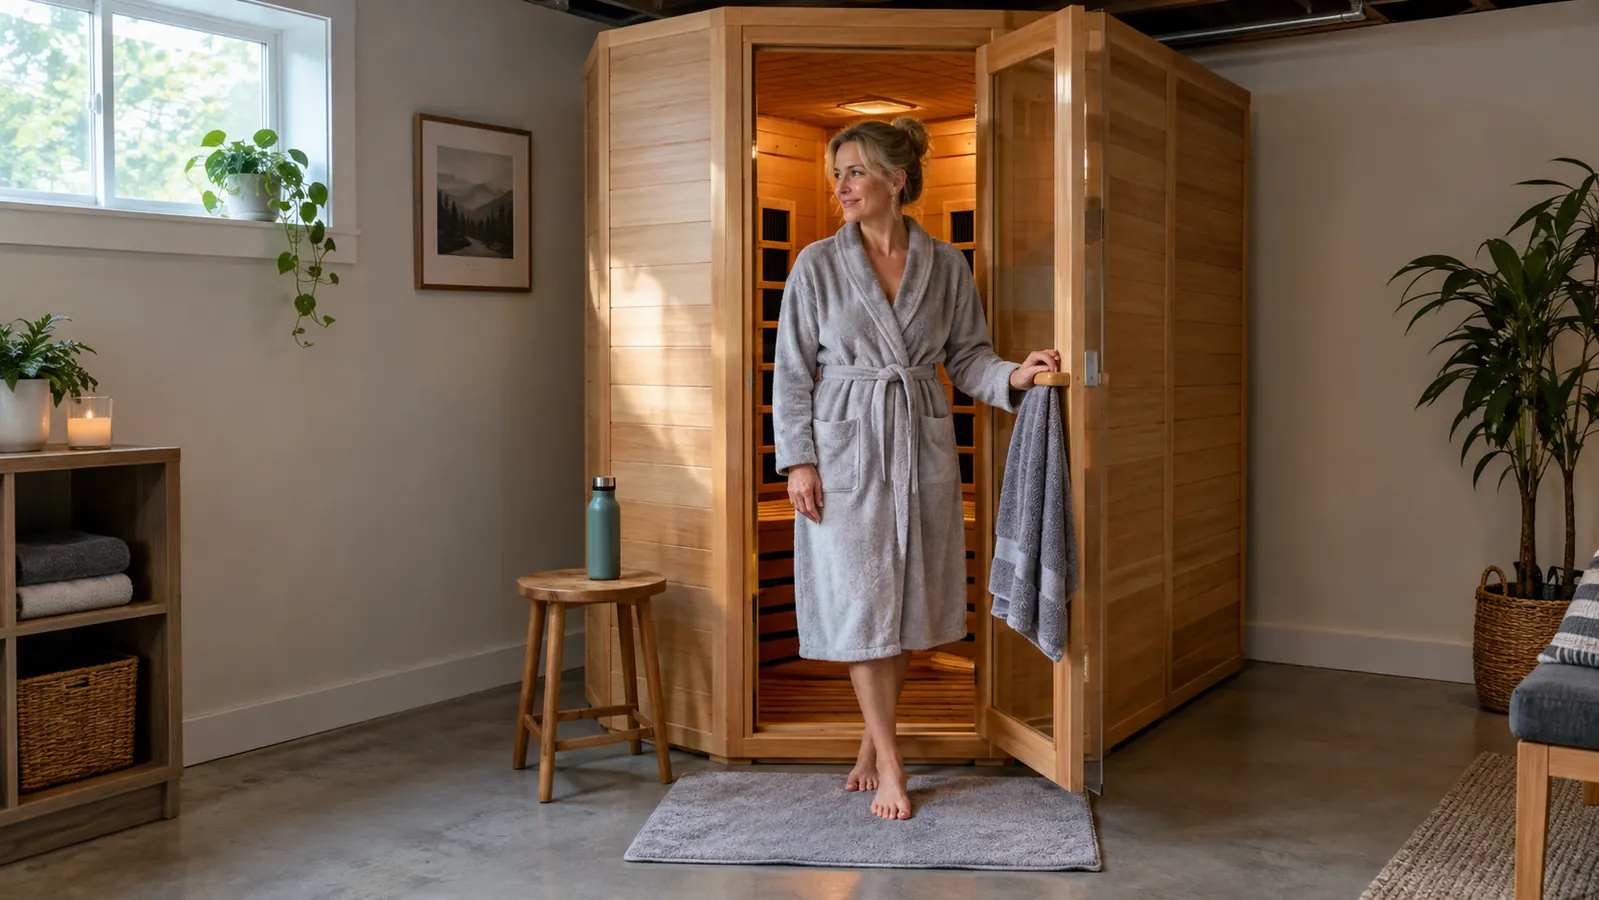
Step 2: Check the outlet and the circuit
The sauna draws 1050 watts, which is about the same as a hair dryer on high. On a standard 120-volt household circuit, that is roughly 8.75 amps. That is not a heavy load, but it matters what else is on the same circuit, because a breaker does not care whether the load is a sauna or a space heater. It only cares about the total.
The treadmill I walk on most mornings is on the same wall as my first choice of spot, and so is a small space heater we use in January. If I had put the sauna on that circuit, I would have been asking the breaker to carry the treadmill, the heater, and the sauna at once. That is how you trip a breaker at the worst possible moment, which in Minnesota usually means in the middle of a cold snap.
So I found the breaker panel, mapped which outlets were on which circuit, and picked a spot on a circuit that had nothing else on it. Most of the labels next to the breakers were wrong, so I traced each outlet with a lamp and a second person watching the panel. If you are not comfortable working with your panel, ask an electrician. The one we used took about twenty minutes to confirm the right outlet, and it was money well spent. Do not run the sauna on an extension cord rated for a lamp, and do not plug it into a power strip.
Step 3: Think about heat, airflow, and the wall behind it
Infrared saunas do not fill the room with steam the way a traditional sauna does, but you will still sweat, and the wood still needs airflow. The manual asks for clearance behind the unit, and that gap is not just for the wood. It gives heat a place to go instead of baking the wall behind the sauna.
Do not put the sauna flush against a wall, and do not tuck it under a low shelf or inside a closet with a door. It needs to breathe. I also learned to leave the door open for a few minutes after a session so the inside can dry out. A sauna that stays damp will not smell like a spa. It will smell like a basement, and you will use it less.
Our basement has a small window at ground level, and I keep it cracked in the summer. In the winter, a small fan pointed at the corner keeps the air moving. The fan also helps in the summer, because a hot, still corner is the last place you want to sit. You do not need anything fancy, just a path for air to move in and out. If your spot is in a room with no window and no airflow, that is a sign to keep looking.
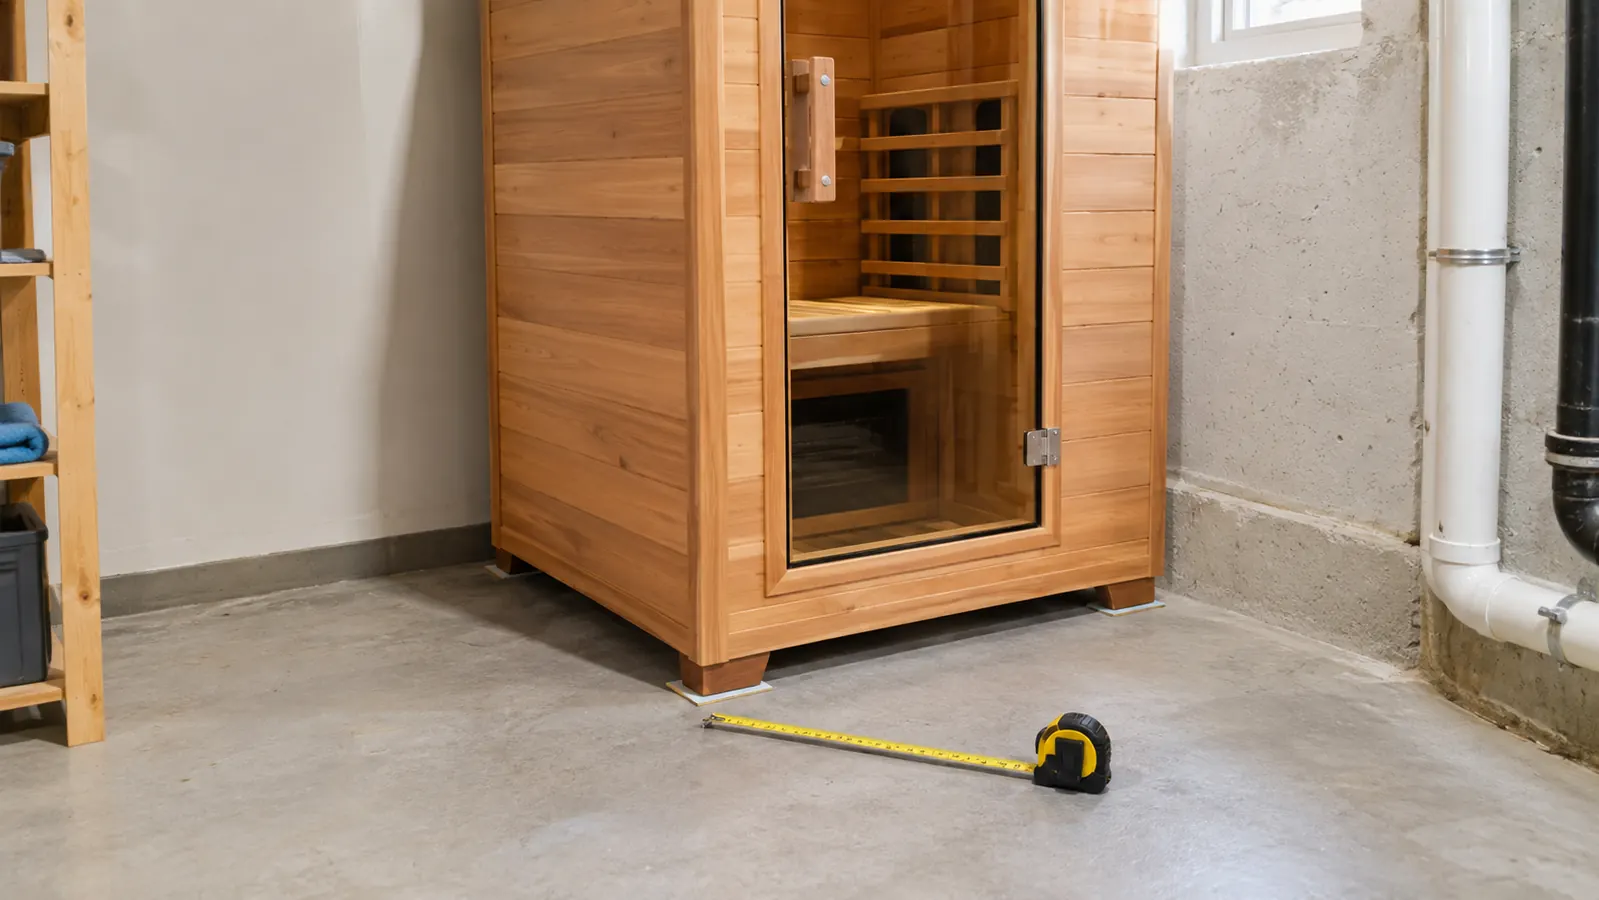
Step 4: Check the floor and what is under it
The sauna is heavy enough that you want it on a level surface. Our basement floor is concrete, which is ideal. If you are putting yours on carpet, put a hard mat under it first so the weight does not crush the padding and the unit does not wobble when you step in and out. If you are on a wood floor over a crawl space, the weight is not a problem, but a level spot still matters.
I also put a rubber bath mat in front of the door. You will step out sweaty, and you do not want to be stepping onto a slippery floor or dragging sweat across the carpet. A mat you can toss in the wash works fine, and it gives you a clean place to stand while you cool down.
Check for level before you assemble. We used a four-foot level and found the floor was off by about a quarter inch in one corner. A couple of shims under the sauna's feet fixed it, and the door closes properly because of it. That is the kind of detail that is easy to skip and hard to fix later.
Step 5: Picture your actual routine, not the product photo
This is the step most people skip, and it is the one that decides whether you use the sauna or not. Stand where the sauna will go and walk the path you will take on a real evening. You will walk in with a water bottle, run the session, step out sweaty, and need somewhere to sit, a towel, and a path to the shower.
I wanted the sauna close to the basement bathroom and not far from the stairs, so the warm-up time is not wasted. The sauna takes a while to heat, and I like to turn it on, go upstairs, change, and come back down. I also keep a small stool outside the door so I have somewhere to sit for the first few minutes after a session. A spot that is easy to reach makes that routine painless. A spot at the far end of the house makes it a project.
Also think about light and noise. Our sauna sits under a warm light on a timer, and I can hear the basement radio from inside the sauna, which is exactly what I want for a quiet wind-down. If your spot is next to the furnace or under a flickering fluorescent light, you will not use it as much. Choose the place that makes the session feel like a break, not a chore.
What Else Helps
A few small things made the difference between a sauna I use and a sauna I would have abandoned. A thermometer inside so I know the actual temperature. A hook for towels and a robe. A water bottle that does not spill when you knock it over. And a timer, either on the sauna or on the outlet, so you are not doing mental math mid-session.
The other thing is the routine itself. I started with ten minutes at the lowest setting and worked up slowly. That is what I told patients for years: start slow, let your body adjust, and be consistent. Heat therapy is not magic, and it is not a cure. It is a routine, and routines only work when the setup makes them easy.
And the honest warning I give everyone: check with your own doctor before you start regular heat therapy, especially if you have a heart condition, high or low blood pressure, or if you are pregnant. I am not a doctor, and I do not give medical advice. I can only tell you what has worked for my stiff knees and lower back after 25 years of lifting and transferring patients.
If you want to know what six months of regular use looks like, I wrote a longer-term review of the OUTEXER here. And if you are torn between infrared and a portable steam sauna, I compared the two here, because they are very different experiences. The spot you choose will depend partly on which one you buy.
At 1050 watts, the sauna draws less than a hair dryer. The circuit it sits on matters more than the corner it sits in.
Finding the right spot took me an afternoon with a tape measure, a level, and a marker for the breaker panel. It was the best hour I spent on the whole project, because every session since has been easy. The sauna is in a corner I walked past for years, and now it is the corner I look forward to. I would not have guessed that a sauna would become the highlight of my day, but that is what happened once the spot was right.
Measure first, then shop.
The OUTEXER one-person sauna fits in a corner you probably already have, as long as the floor is level, the circuit is free, and the door has room to swing. Find your spot first, then check today's price on Amazon.
Amazon Check Today's Price on Amazon →