
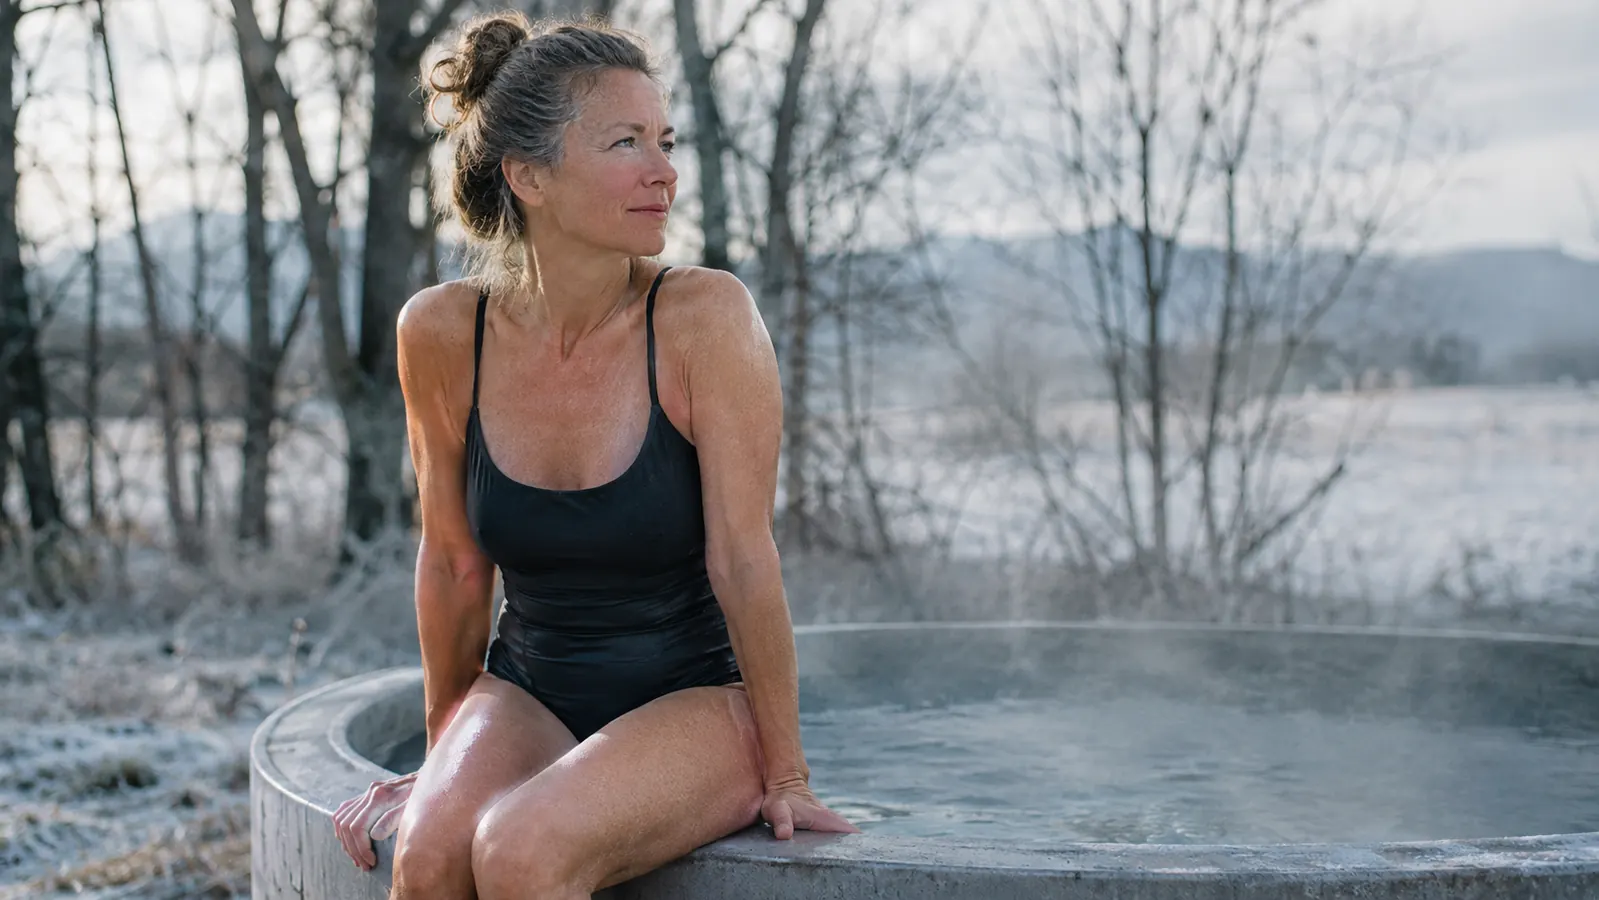
I spent twenty-five years as a physical therapy assistant, and most of that time I told patients the same thing about their home exercise programs: start where you are, not where you think you should be. Cold plunging is no different. When I first talked about adding a plunge tub after a sauna session, a friend in Duluth laughed and said I was out of my mind. By February, she was the one asking me how I kept the water from freezing solid. The honest answer is that the setup matters more than the cold does, and the Bubplay Ice Bath Cold Plunge Tub is the setup I settled on. A good tub, a good routine, and a thermometer you trust will get you further than any amount of willpower.
I am not a doctor and I am not selling cures or promising transformations. I am a retired physical therapy assistant who likes a hot sauna at the end of a long Minnesota day, and who found that a short cold plunge afterward helps me sleep and eases the stiffness in my knees and lower back. If you have a heart condition, high or low blood pressure, or any question about how your body handles sudden cold, check with your doctor before you try any of this. What follows is how I set up my own home routine with the Bubplay tub, what it costs, and where I think the limits are.
The tub I use for my sauna-to-plunge routine
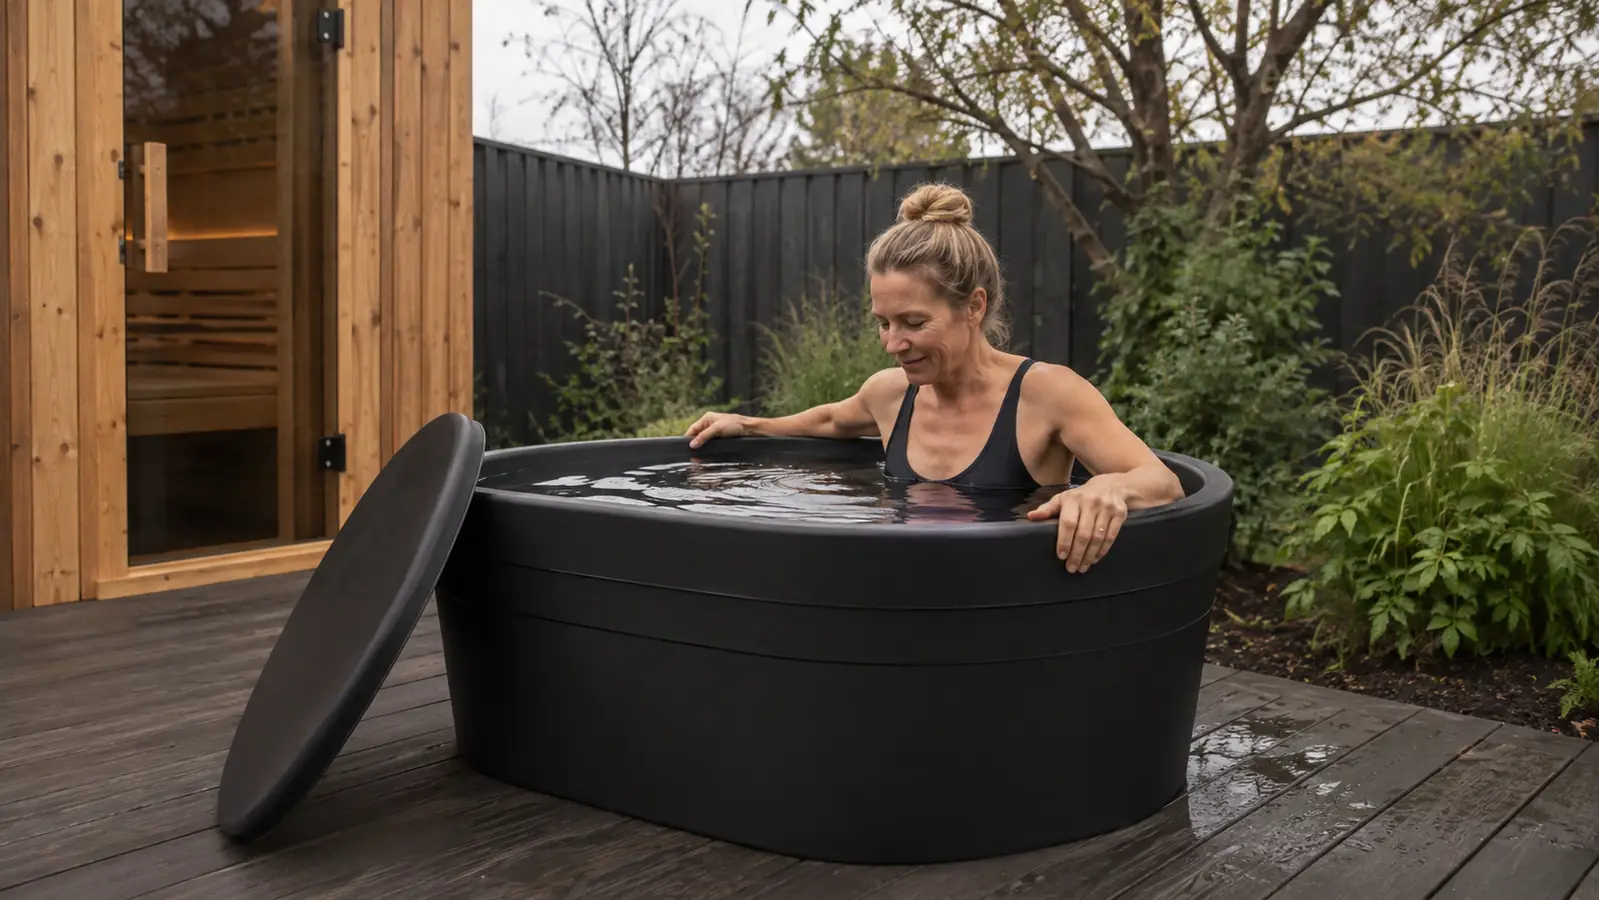
The Bubplay Ice Bath Cold Plunge Tub is the one I reach for because it is simple, sturdy, and easy to drain after use. It is not the cheapest tub on the market and it is not the fanciest. It is the one that fits a real home routine.
Amazon Check Today's Price on Amazon →Step 1: Pick a spot that drains, and put the tub on a mat
Before you buy anything, decide where the tub will live. I keep mine on the covered part of my back deck, a few steps from the basement door where the sauna is. You want a spot that is close enough that you will actually use it, level enough that the tub does not rock, and somewhere the water can drain without flooding your yard. The Bubplay tub has a drain plug near the bottom, so I set mine up on a slight grade with a short hose running toward the flower bed. If you are in a rental or you cannot drill into anything, a freestanding setup on a mat works fine. You do not need a permanent installation.
Put a mat under the tub. I use a rubber stall mat meant for a horse stall, which sounds odd but works beautifully. It protects the deck, gives the tub a flat surface, and makes the whole thing feel less like a science experiment. If you are setting up indoors, in a basement or a garage, the mat matters even more because you will splash. A cheap plastic shower curtain liner under the mat catches most of the mess.
One thing I learned the hard way: fill the tub where it will sit. The Bubplay tub holds a lot of water, and a full tub is far too heavy to drag across a deck. I fill it with a garden hose, and I drain it with the hose attached to the drain plug. That sounds obvious, but I have talked to two neighbors who filled theirs in the driveway and then had to figure out how to move it. Measure the space before you order, too. The tub needs room around it for you to step in and out, and a little extra for the cover to lean against. I also learned to keep the hose long enough to reach the tub without dragging it across the yard.
Step 2: Fill it the night before, and get the temperature right
The biggest mistake people make with a first plunge is filling the tub with ice-cold tap water and hopping in immediately. That is a recipe for a very short, very miserable experience. I fill the tub the night before, let the water sit overnight, and check the temperature in the morning. In the summer, municipal water comes out of the hose around 60 degrees, which is already a reasonable place to start. In the winter, the water in the tub will drop to near freezing on its own. If you are using a hose in the winter, drain it completely after filling so it does not freeze.
For the first two weeks, I aimed for water around 55 to 60 degrees. That is cold enough to feel like a real plunge but not cold enough to make your body panic. I added a couple of bags of ice only after I had done a week of 60-degree plunges and wanted a little more. The Bubplay tub comes with a cover, and I cannot overstate how much that cover matters. It keeps leaves out, slows evaporation, and in the winter it keeps the surface from freezing into a solid sheet.
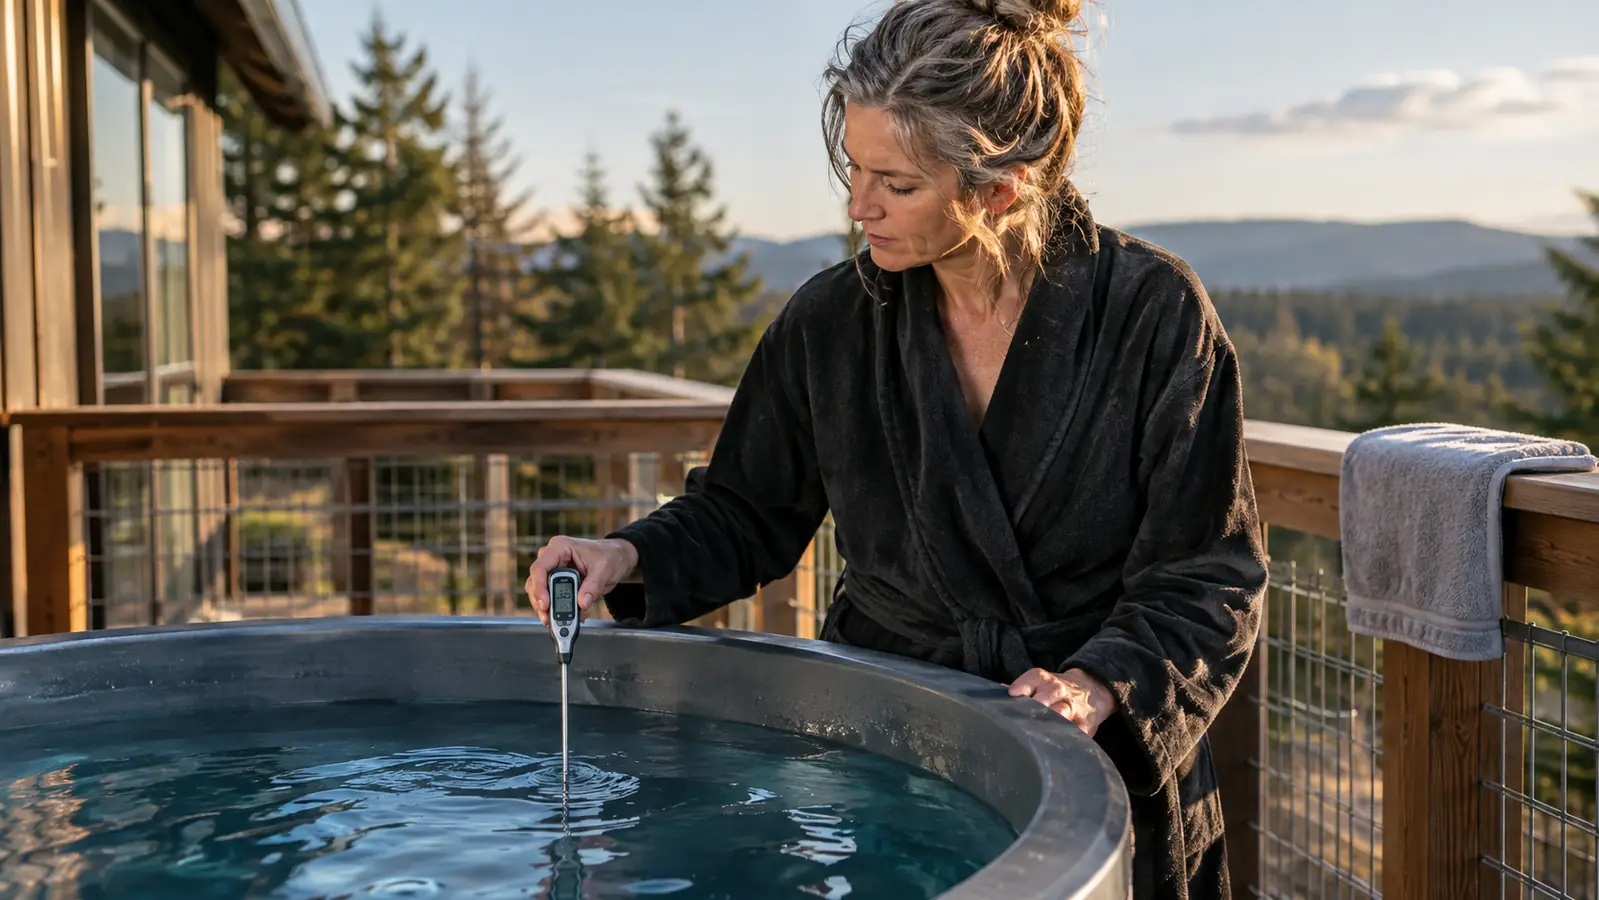
A good thermometer is worth the money. I use a simple floating pool thermometer, and I check it every single time before I get in. The water temperature changes with the air temperature, and guessing is how you end up with a plunge that is either too mild to bother with or cold enough to make you gasp. I also keep a bucket of warm water and a washcloth by the tub, because wet feet on a cold deck is its own special kind of misery. And I always have a towel within arm's reach, draped over the railing, before I get in. A thermometer with a floating ring is easier to read than a stick thermometer, especially in low light.
Step 3: Start with 20 seconds, not 2 minutes
Here is the part I wish someone had told me: the first plunge does not need to be impressive. My first time in the Bubplay tub, I got in, gasped, and got out after maybe twenty seconds. That is a completely fine first plunge. The goal of the first week is not to build tolerance. The goal is to build the habit of getting in at all. I told myself I could get out at any time, and somehow that made it easier to stay in. Your body is allowed to say when it is done. Nobody is keeping score. There is no prize for the longest plunge.
I worked up slowly. Week one was twenty to thirty seconds. Week two was forty-five seconds. By week three I could do a full minute without gripping the edges of the tub. I have never felt the need to go beyond about two minutes, and I want to be honest about that. The people you see on social media sitting in ice baths for five or ten minutes are not beginners, and they are not doing it for the same reasons most of us are. For recovery and for a calm wind-down, two minutes is plenty. I have also learned to stop on a good day. If I do a minute easily, I do not push to a minute and a half just to prove something.
Breathe. This is the most useful piece of advice I have, and it came from a patient who used to be a swim coach. When you first get in, your body wants to take a fast, shallow breath. If you can slow that breath down, even just to a slow count of four in and four out, the cold becomes dramatically more manageable. I do that breathing before I get in, and I keep doing it while I am in the water. If your breathing ever feels out of control, get out. The tub will still be there tomorrow.
Step 4: Make the sauna-to-plunge transition a ritual, not a race
The order matters more than people think. I heat the sauna, sit for about fifteen minutes, then step out and give myself a minute or two to cool down before I get into the plunge. Going straight from a hot sauna into freezing water is jarring, and it is not necessary. A short pause, a sip of water, a moment to catch my breath, and then the plunge feels less like a shock and more like a deliberate choice. That pause is also when I check the water temperature one last time. I also make sure the sauna is not too hot for me that evening. Some nights I keep it at a gentler heat and the plunge feels better for it.
I keep a robe and a pair of flip-flops right by the tub. This sounds like a small thing, but it is the difference between a pleasant ritual and a miserable one. After the plunge, I dry off quickly, put on the robe, and go inside. I do not take a hot shower right away. I have read conflicting advice about whether a hot shower right after a cold plunge is a good idea, and I have settled on waiting at least a few minutes so my body can warm up on its own.
The whole routine, sauna and plunge together, takes me about forty minutes. I do it three or four evenings a week, usually after dinner. It has become the part of my day I look forward to, which still surprises me. I am not a cold-water enthusiast by nature. I am a person who likes a predictable routine that makes her body feel better. Some evenings I sit in the sauna for ten minutes and call it enough. The routine bends to how I feel, not the other way around.
Step 5: Maintain the water so the tub stays worth using
A cold plunge tub is only as good as its water. If the water gets funky, you will stop using the tub, and then the whole investment was wasted. I drain and refill the Bubplay tub about once a week in the summer, and every two weeks in the winter. That sounds like a lot, but the drain plug makes it a ten-minute job. I also rinse the inside with a hose before I refill it. I set a reminder on my phone, because it is the kind of chore that is easy to put off.
I do not use chemicals in my tub. Some people add a small amount of bromine or a spa sanitizer, and that is a reasonable choice if you are sharing the tub or keeping the water for longer stretches. For a solo tub that gets drained regularly, plain water and a weekly rinse have been enough for me. I keep the cover on whenever the tub is not in use, and I wipe down the rim with a cloth before I put the cover back on.
In the winter, I keep a small floating de-icer in the tub. It is a simple device that keeps a small circle of water from freezing, which protects the tub and makes it possible to plunge even on the coldest Duluth mornings. The Bubplay tub has held up fine through two Minnesota winters so far, with no cracks and no leaks. I cannot promise that will be true for every tub, but it has been true for mine. If you live somewhere with hard freezes, a de-icer is a cheap piece of insurance.
What Else Helps
A few things made my routine easier than I expected. A good bathrobe, preferably one that hits below the knee, is worth more than any fancy plunging accessory. A pair of wool socks for after the plunge, worn with the robe while I warm up, makes the transition back inside much more pleasant. I also keep a water bottle by the sauna, because I sweat a lot and I do not want to be dehydrated before I get into cold water. A small hook inside the door for the robe means I am not dripping through the house.
If you are just starting out, consider a simple pool thermometer and a kitchen timer. You do not need an app, a heart rate monitor, or a subscription to anything. The cold plunge industry has done a remarkable job of selling accessories, but the actual equipment you need is a tub, water, a thermometer, and a towel. Everything else is optional.
One more thing I would tell anyone starting this: tell someone what you are doing. I text a friend before my first plunge every season, mostly so someone knows I am out on the deck. It sounds silly, but it is the same habit I taught patients about home exercise. A routine you can describe to another person is a routine you are more likely to keep.
The goal of the first week is not to build tolerance. The goal is to build the habit of getting in at all.
Start with the tub that makes the routine easy to keep
The Bubplay Ice Bath Cold Plunge Tub is the one I have used for two winters, and it is the one I would buy again. It is simple to set up, easy to drain, and sturdy enough for real Minnesota weather. Check today's price on Amazon and see if it fits your routine.
Amazon Check Today's Price on Amazon →