
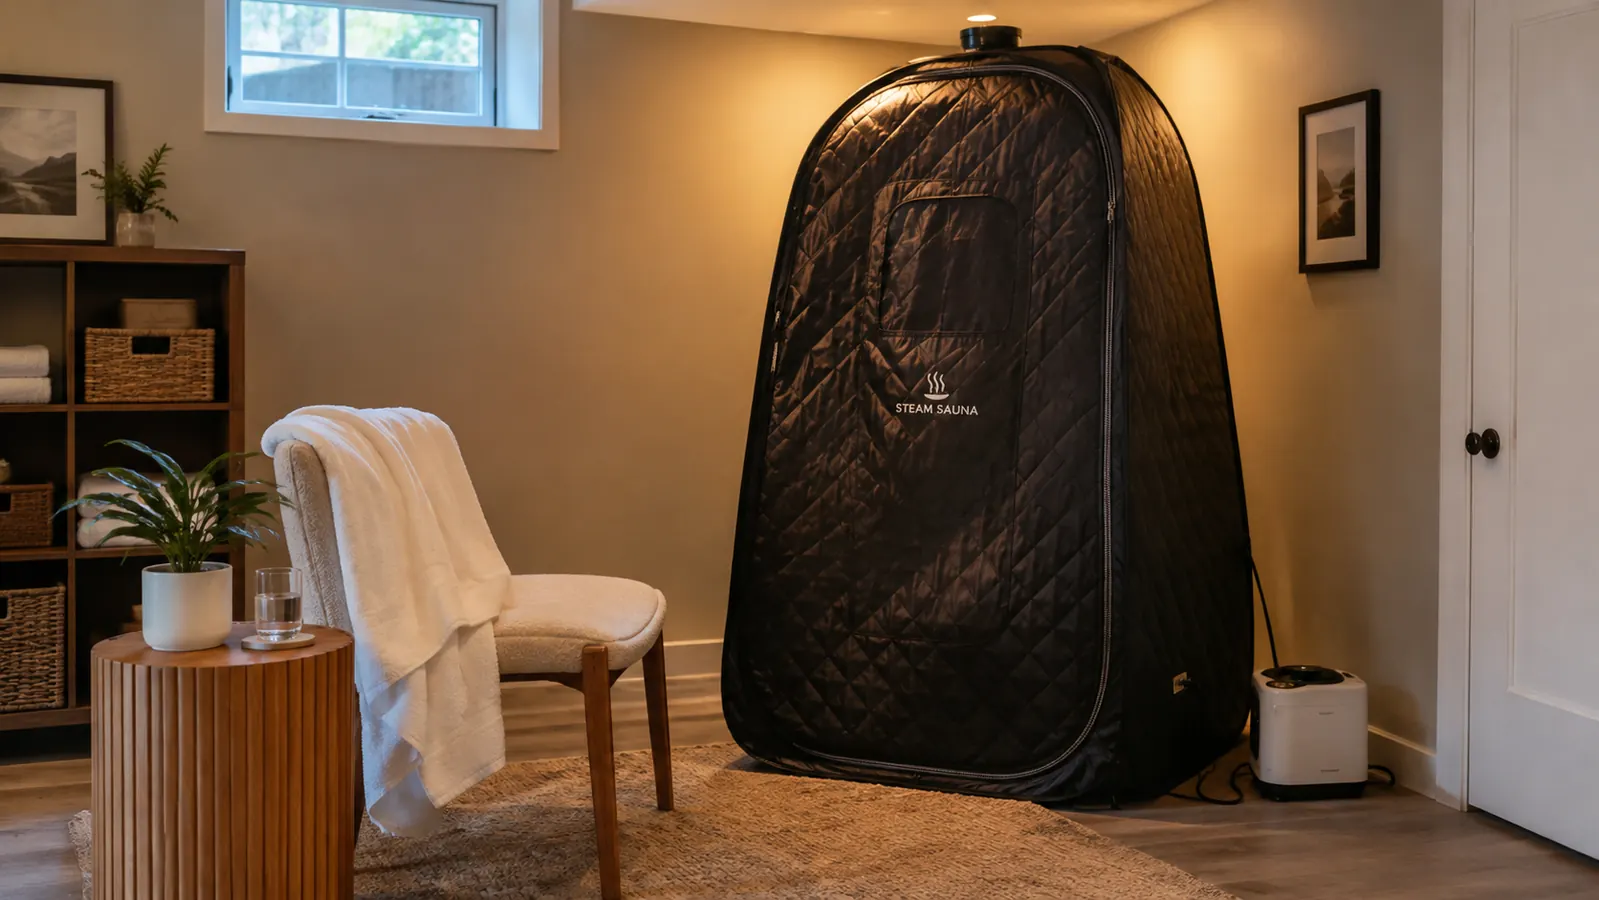
If you have been eyeing a portable steam sauna the way I did last fall, you probably have the same two questions I had: will it actually fit in my basement, and is it safe to use at home? I am Ingrid, a retired physical therapy assistant, and I have spent the last several months testing the Durasage Portable Steam Sauna in a corner of my own basement. I want to walk you through how to use it safely, because most of what I read online skipped the practical parts I actually needed to know.
The honest answer is that a steam sauna tent is simple equipment. It is a fabric tent, a small chair, and a steam generator that boils water into vapor. But simple does not mean foolproof. The mistakes I made in my first week were small ones: I put the tent too close to the wall, I forgot to check the outlet, and I sat too long on my second session. None of them hurt me, but each one taught me something. This guide is the version I wish I had read first.
Start with a sauna that sets up in ten minutes, not a weekend project
The Durasage Portable Steam Sauna I use in my basement comes with the 800W generator, a folding chair, and a 60-minute timer. It fits in a corner and packs away when company comes. If you are ready to try a real steam session at home, this is the one I reach for.
Amazon Check Today's Price on Amazon →Step 1: Pick the right spot before you unfold anything
The first thing I do with any new piece of recovery gear is find its home. For the sauna, that means a spot with enough room for the tent plus a little breathing space on every side. The tent itself is roughly the size of a small closet when it is up, and you want at least a foot of clearance around it so the fabric does not press against a wall and so you can reach the zipper easily. I also wanted the spot near an outlet but not right under a window, because steam and cold glass do not mix well in a Minnesota winter.
Ceiling height matters more than you might think. You will be sitting inside with your head either inside the tent or poking out through the top opening, depending on how you like the heat. If your basement ceiling is low, check that the tent's top loop has room to hang properly. My ceiling is a standard eight feet and the tent fits fine, but I measured before I ordered, and I would tell anyone to do the same. Measure the height of the room, not just the floor space, before you commit.
The other thing to check is the outlet. The steam generator is 800 watts, which is more than a phone charger but less than a space heater. Still, I run mine on a dedicated circuit and I never plug anything else into the same outlet during a session. If your home is older and the breakers trip easily, this is worth checking before your first use, not after. I also keep a small mat under the generator, because a drip of water on a basement floor is a slip hazard I do not need.
Step 2: Set up the frame and chair
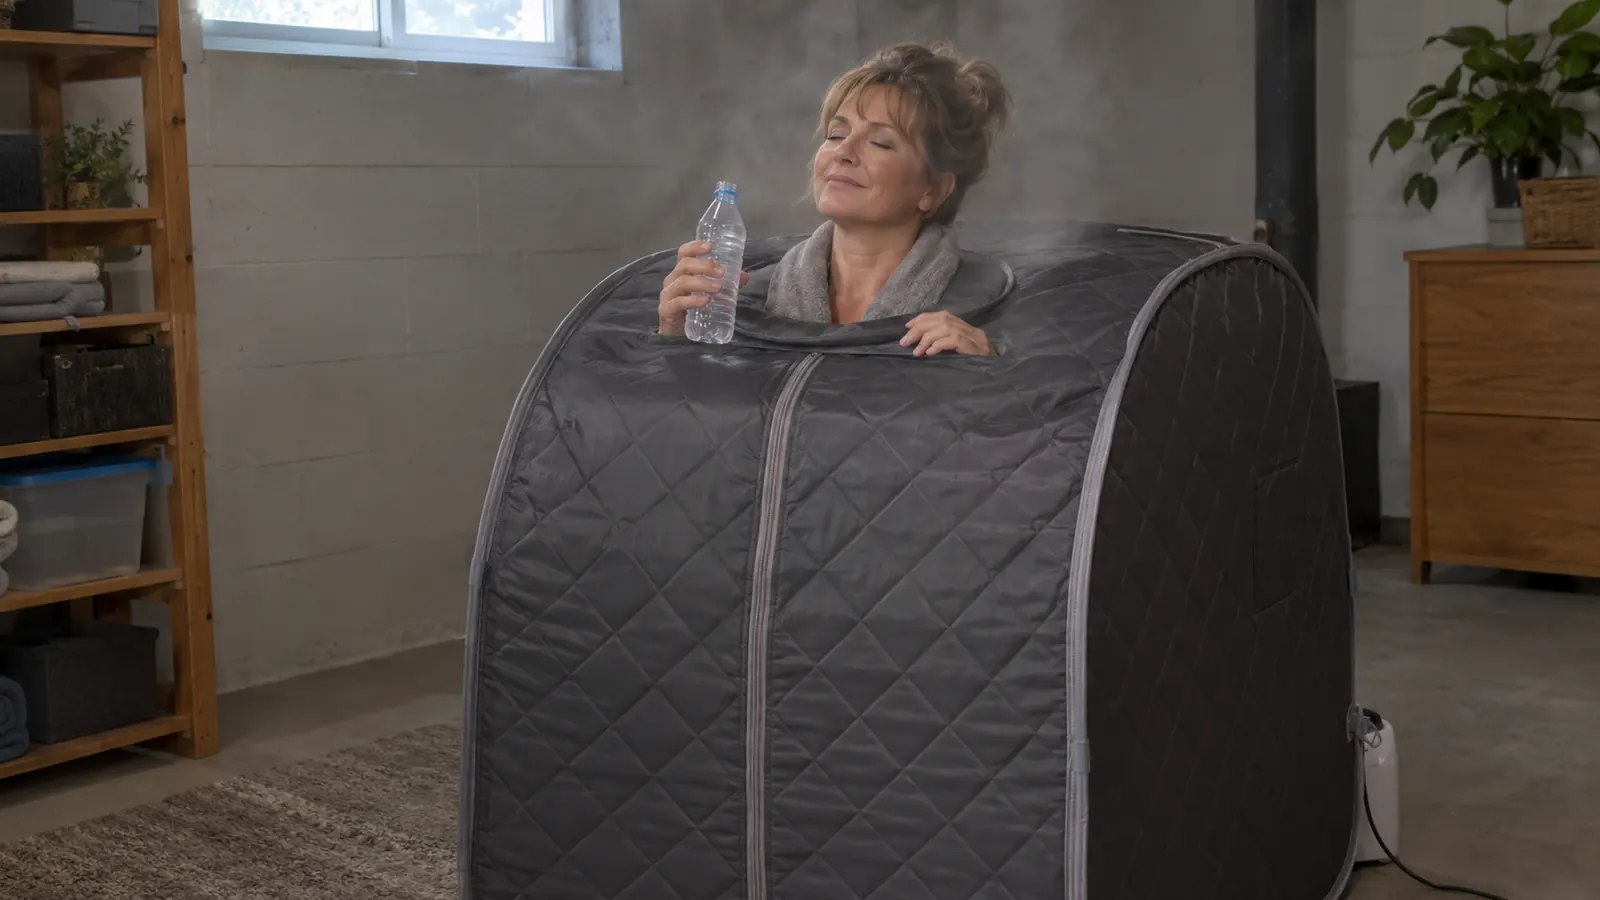
The Durasage sets up the way most of these tents do. You unfold the collapsible frame, pop it into shape, and drape the fabric over it. The first time I did it, it took me about ten minutes and I felt foolish for having dreaded it. The poles lock into place with a satisfying click, and once the frame is up, the tent hangs on it like a shower curtain on a rod. My husband Tom watched the first setup and made a joke about camping indoors, and then he asked me to show him how the timer worked.
Put the chair inside before you zip yourself in. The included chair is a simple folding stool, and you want it centered so your shoulders do not brush the sides of the tent. I like to sit on a small towel as well, partly for comfort and partly because it catches sweat. Make sure the chair is fully open and stable. I test it with a hand press before I sit down, the same way I used to check a patient's walker before they put their weight on it.
One tip from my first week: do the zipper check while the tent is empty. Zip and unzip the door a few times so you know how it moves. The zipper is the part that gets the most wear, and it is much easier to learn how it behaves when you are not already hot and sitting inside. I also make sure the door zips from the inside easily, because that is the direction you will be using it most of the time.
Step 3: Fill the generator and set the timer
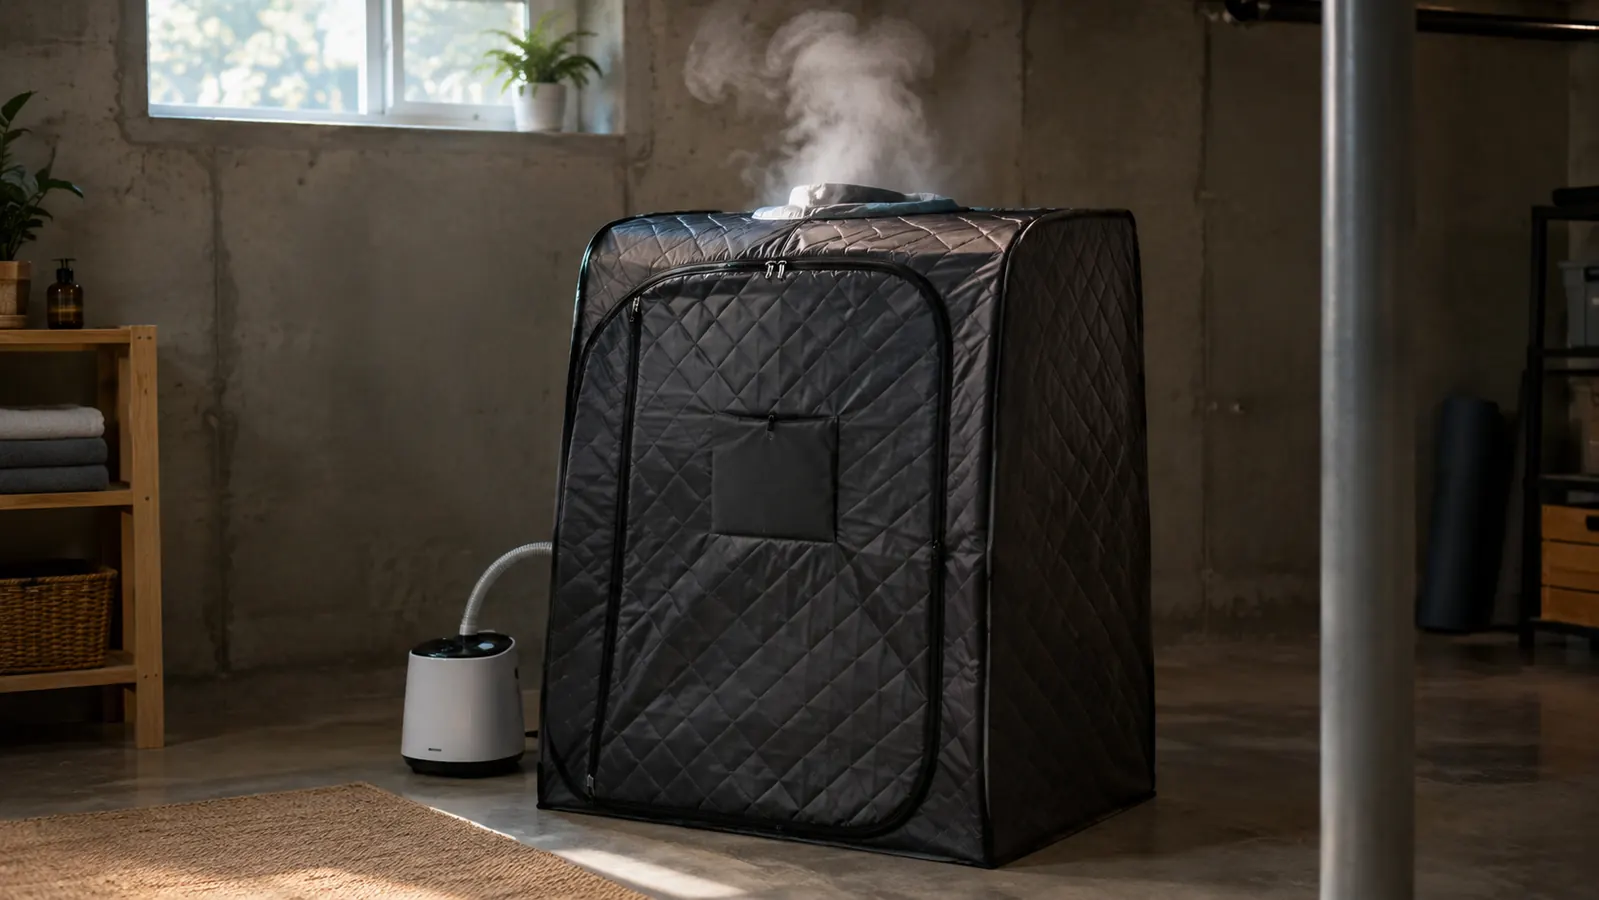
The steam generator is a small unit that sits outside the tent with a hose running in. You fill it with water, plug it in, and set the timer. The Durasage has a 60-minute timer, which is generous. You will rarely use all of it. I usually run mine for about twenty minutes and turn it off when I am done. The steam starts within a few minutes, and the tent warms up noticeably faster than I expected the first time.
Use distilled water if you can. Tap water works in a pinch, but over time the minerals in tap water build up inside the generator and shorten its life. I keep a gallon jug of distilled water in the basement next to the sauna so I never have to think about it. Follow the fill line on the generator. Overfilling is the most common mistake I see people make, and it just makes the unit spit water instead of steam. Underfilling is just as easy to avoid: check the line before every session, not when the steam starts to slow down.
Set the timer before you get in, not after. That way you are not fiddling with controls while you are already warm and a little foggy. I also keep the generator on a small plastic mat in case of drips, and I make sure the hose runs flat to the tent so steam does not pool in a low spot. If the hose kinks, the steam backs up and the unit can make a sputtering noise that sounds worse than it is, but it is easy to prevent by giving the hose a straight run.
Step 4: Ease in and keep the first sessions short
Here is the part I feel strongly about, because I spent 25 years telling patients to start slow. Your first session should be ten to fifteen minutes, not thirty. The tent heats up faster than you expect, and the steam can catch you off guard. Sit inside, let the heat build, and see how you feel. If you are comfortable, you can add five minutes the next time. I worked up to about twenty minutes over two weeks, and that was plenty for me.
Keep your head out of the tent if you want a milder session. The top of the tent has an opening, and you can sit with your head poking out and the fabric cinched around your neck. That is how I started. Now I usually let my head stay inside for short stretches, but I always keep the opening loose so I can lift it easily. You should never feel trapped in there. If you feel dizzy, lightheaded, or short of breath, step out, sit down, and drink some water. There is no prize for finishing a session.
A few ground rules I follow every time: I drink a glass of water before I start and keep a bottle within reach. I never use the sauna after alcohol. And I checked with my own doctor before I started this routine, because I take blood pressure medication and I wanted to be sure heat therapy was safe for me. If you have a heart condition, are pregnant, or take medication that affects blood pressure, please do the same. I am not a doctor and I do not give medical advice. I just want you to be as careful as I was.
Step 5: Cool down, dry off, and clean up
The session does not end when the timer stops. It ends when you have cooled down slowly and dried everything off. I step out, wrap a towel around my shoulders, and sit on the basement stairs for a few minutes before I shower. The slow cool-down is the part that makes the whole thing feel good the next day, and it is easy to skip when you are warm and ready to move. Give your body a few minutes to come back to room temperature, and drink water while you do.
Then comes the cleanup that nobody mentions in the product photos. Wipe the inside of the tent with a towel to catch the condensation before it drips everywhere. Hang the tent open to dry completely, and I do mean completely. A damp sauna tent folded up in a bag will smell musty within a week. I leave mine draped over the frame for a few hours after each use, then fold it away. On humid summer days I leave it longer, because the air in a Duluth basement does not dry things quickly.
Drain the generator and give it a rinse every few sessions, or follow whatever the manual says for your unit. This is the maintenance that keeps the Durasage running for years instead of months. It takes five minutes, and it is the difference between a piece of gear that still works next winter and one that ends up in a landfill. I also wipe the outside of the generator with a dry cloth, because the mineral dust from steam can build up around the vents.
What Else Helps
A few small things make the routine much easier. I keep a dedicated sauna towel, a pair of flip flops to wear on the basement floor, and a water bottle that lives next to the tent. A simple clock or timer helps, because it is easy to lose track of time when you are warm and relaxed. I also use a small thermometer inside the tent for the first few sessions, just to learn what the heat feels like at different temperatures. Most people find a comfortable steam session lands somewhere in the 110 to 120 degree range, but the number matters less than how you feel. Start low, pay attention, and let your body set the pace.
I want to be plain about what this does not do, because there is a lot of hype around saunas. It does not melt fat and it is not a medical device. What it does for me is simple: it warms my stiff knees and lower back, it gives me a quiet twenty minutes away from my phone, and on a dark January evening in Duluth, that is worth a lot. If you go in expecting dramatic weight loss or a cure for everything, you will be disappointed. If you go in expecting a warm, relaxing routine, you will probably love it.
One more thing I have learned: consistency beats intensity. A ten-minute session three times a week has done more for how my lower back feels than a single long session ever did. I treat it like my morning treadmill walk. It is not a special event. It is just part of the week, and that is exactly why it works for me.
I started with ten-minute sessions and worked up to twenty over about two weeks. That slow start is the reason I still use the sauna three mornings a week.
The sauna I keep coming back to
After months of using the Durasage Portable Steam Sauna in my basement, it is still the piece of recovery gear I reach for most often. It sets up in minutes, runs quietly, and fits in a corner when I am done. If you have been going back and forth on whether a home steam sauna is worth it, this is the one I would start with.
Amazon Check Today's Price on Amazon →